Nate has been working in the welding industry for more than half of his life. He’s currently our Head of Customer Service & Order Management for the eCommerce Department. When he’s not talking about welding, reading about welding or actually welding, he’s traveling the world with his family.
Breaking into TIG welding can be a trainwreck, especially because older TIG welders tend not to be beginner friendly. If you’re familiar with the TIG process, it’s complicated enough without having your welder make problems for you. If you’re not familiar with the TIG process, here’s a link to one of our posts that’ll shed some light on the subject.
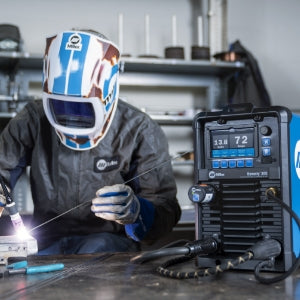
My favorite machine is the Miller Diversion 180 because it takes that complicated TIG process and makes it as easy as possible. If they made infant-size welding helmets, a baby could do it. Anyone with a basic welding understanding can use the Miller Diversion 180. I’ll take you through the process of using it in 4 steps:
First, push the power switch.
Second, select your material type.
Third, set your material thickness range.
Fourth, start welding.
There’s not many toasters that easy to use. The other reason I like the Miller Diversion 180 is that it doesn’t sacrifice ease for power. Sometimes beginner welders feel like you’re using an easy bake oven. Sure, it’s nice to learn with, but you’ll grow out of it pretty quickly. The Miller Diversion 180 has both AC and DC with a high frequency. This means you can virtually weld on any material (a.k.a. total freedom). I’ve got friends that use it in their repair shops, for building maintenance, or for hobby welding in their garage. They started learning TIG with their Miller Diversion and they’re still using it now.
If you’re looking at TIG welders, this is my favorite. It’s extremely easy to use and has enough longevity for both expert and beginner skill ranges. I’ve linked all the specific details here so you can see more for yourself.


