Skip to content
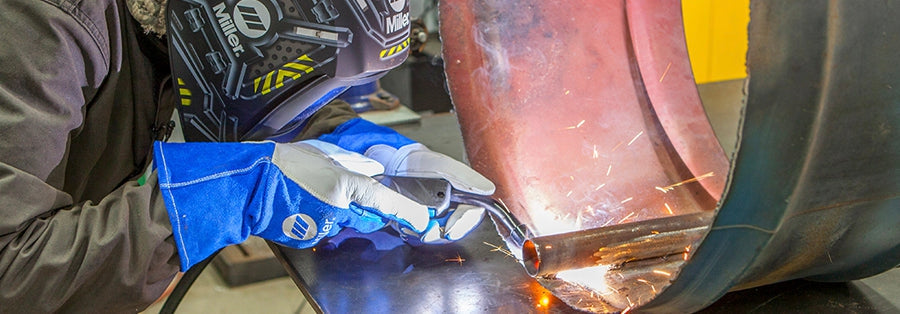
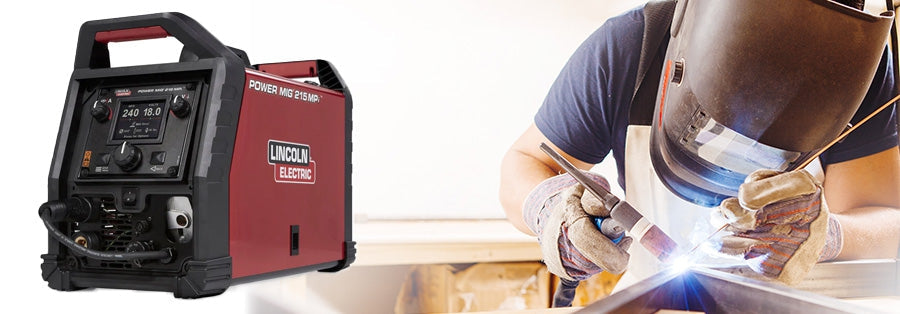
So, the big Miller box you've been waiting for has finally arrived at your doorstep. Now that the Millermatic 211 is in your hands, how do you set it up? Don't worry; we're here to help you get everything prepared and ready for its first weld.
Step 1:
Open the box and take everything out, checking that all the required pieces are included. Inside the box, you should find the welding machine, a shipping kit with the owner's manual, a sample spool of welding wire, a gas hose, a material thickness gauge, extra contact tips, a work clamp and Velcro cord wraps.

The Millermatic 211 also includes MVP plugs for both 120-volt and 240-volt power. Don't forget to read through the instructional/safety manual. If you need a quick setup reference sheet, it's printed inside the door of your machine.
Step 2:
The next step is to connect the control cable, then the MIG gun and finally, the work clamp. The ground control cable will come from inside the machine, so you'll need to feed it through the drive cabinet and out through the access hole.
To connect the control cable, locate the connector inside the door on the bottom right, under the drive. Next, insert the MIG gun into the drive casting and ensure it seats completely into the drive assembly. Then, tighten the gun connection to the receptacle using the threaded T-knob.
Route the lug end of the work lead through the handle of the work clamp and connect it to the outside of the clamp. Use a 10mm wrench to tighten the nut on the clamp.
Next, connect the appropriate gas for the welding you're doing. For more on which specific shielding gases you should use, check out our complete guide here. Screw the large end of the regulator into the top of your gas bottle, using a wrench to tighten it. Then, attach the gas hose to the regulator and finally, attach the hose to the back of the machine, tightening it with a wrench.
Now, it's time to install the drive roll. Place the drive roll on the shaft, push it in, and turn it to the appropriate groove setting: .024 for the outer groove, .030 or .035 for the middle groove and the innermost groove for flux core or stainless steel welding.'

Step 3:
Threading the wire into the machine. Set the spool on the shaft, ensuring that the pin on the machine fits into the hole on the spool. Secure the spool by screwing the locking nut onto the outside. For a 1-lb wire spool, remove the adapter.
To prep the wire, pull out a small length and snip off the end to ensure you have a straight piece. Then, thread the end of the wire through the inlet guide, across the drive roll and into the MIG gun liner. To seat the wire in position, close the pressure lever, and raise the tension knob.
You’re now ready to plug in the machine and turn it on! Be sure to use an outlet that is the appropriate size for your machine.
Step 4:
The next step is to prepare the gun for welding. Remove the gun nozzle and straighten the hose to eliminate any bends or kinks. Pull the trigger of the gun, and after about 3 seconds, the machine will enter jog mode. Continue holding the trigger and feed the wire out until it extends about one inch past the end of the gun. Attach the appropriate contact tip for the wire size you're using, tightening it with pliers. Cut the wire to approximately ⅜ of an inch from the end of the contact tip, then reinstall the nozzle.

Step 5:
Now it's time to check the drive roll tension. Start by feeding a few inches of wire out of the gun. Angle the gun close to an insulated surface, like a block of wood, and continue to feed the wire until it curls into a 2-inch loop on the wood without slipping. If you cannot form the 2-inch loop without slipping, tighten the knob to add tension. On the other hand, if the wire does not start slipping and forms loops smaller than 2 inches, release some tension. Once you've adjusted the tension, cut the excess wire, and close and latch the drive compartment on the machine.
You're now ready to test the machine and prepare for your first weld! Your Millermatic 211 is the ideal machine for all your welding projects. It’s compact and durable but packs a punch. For more information and guidance on your Millermatic machine or general welding tips, check out the rest of our blog posts.